Documentation
1. Introduction
1.1. What is Toxtab?
Toxtab is an online face-based employee time tracking system.
All you need to run the system is a standard device (computer, laptop, tablet, or phone) with internet access and a webcam.
An employee takes a selfie at the start and end of their work shift, and the system identifies them by photo in the company's employee database and records their clock-in and clock-out times.
Working time data is stored on the Toxtab server, and company management can access up-to-date reports at any time.
1.2. How do employees check in?
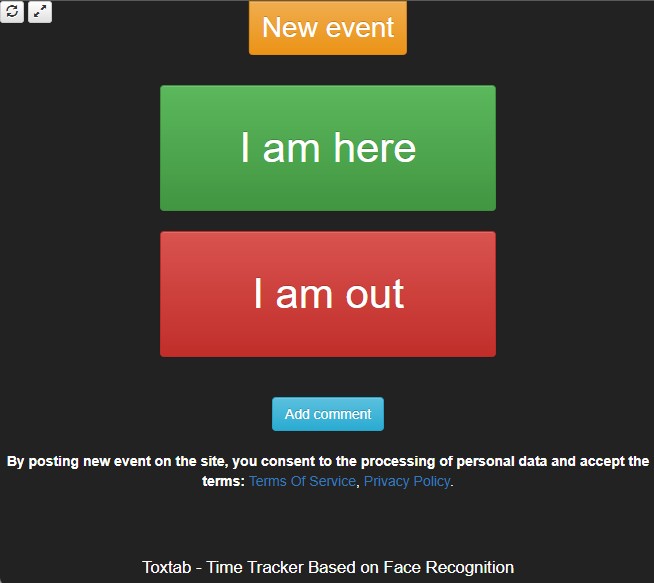
To check in, an employee approaches the device (usually a tablet) which displays two buttons: "I'm here" and "I'm leaving".
The employee taps "I'm here" and, following the on-screen prompts, takes a selfie — the check-in is sent to the server and the employee sees a confirmation message.
At the end of the work shift the process is repeated using the "I'm leaving" button.
Multiple work periods can be opened and closed within a single day — for example, working before lunch and then after lunch.
1.3. What data does management receive?
Management receives a report showing which employee checked in or out, where, when, and in what position.
The report stores event photos, totals work shift durations, allows time adjustments, and much more.

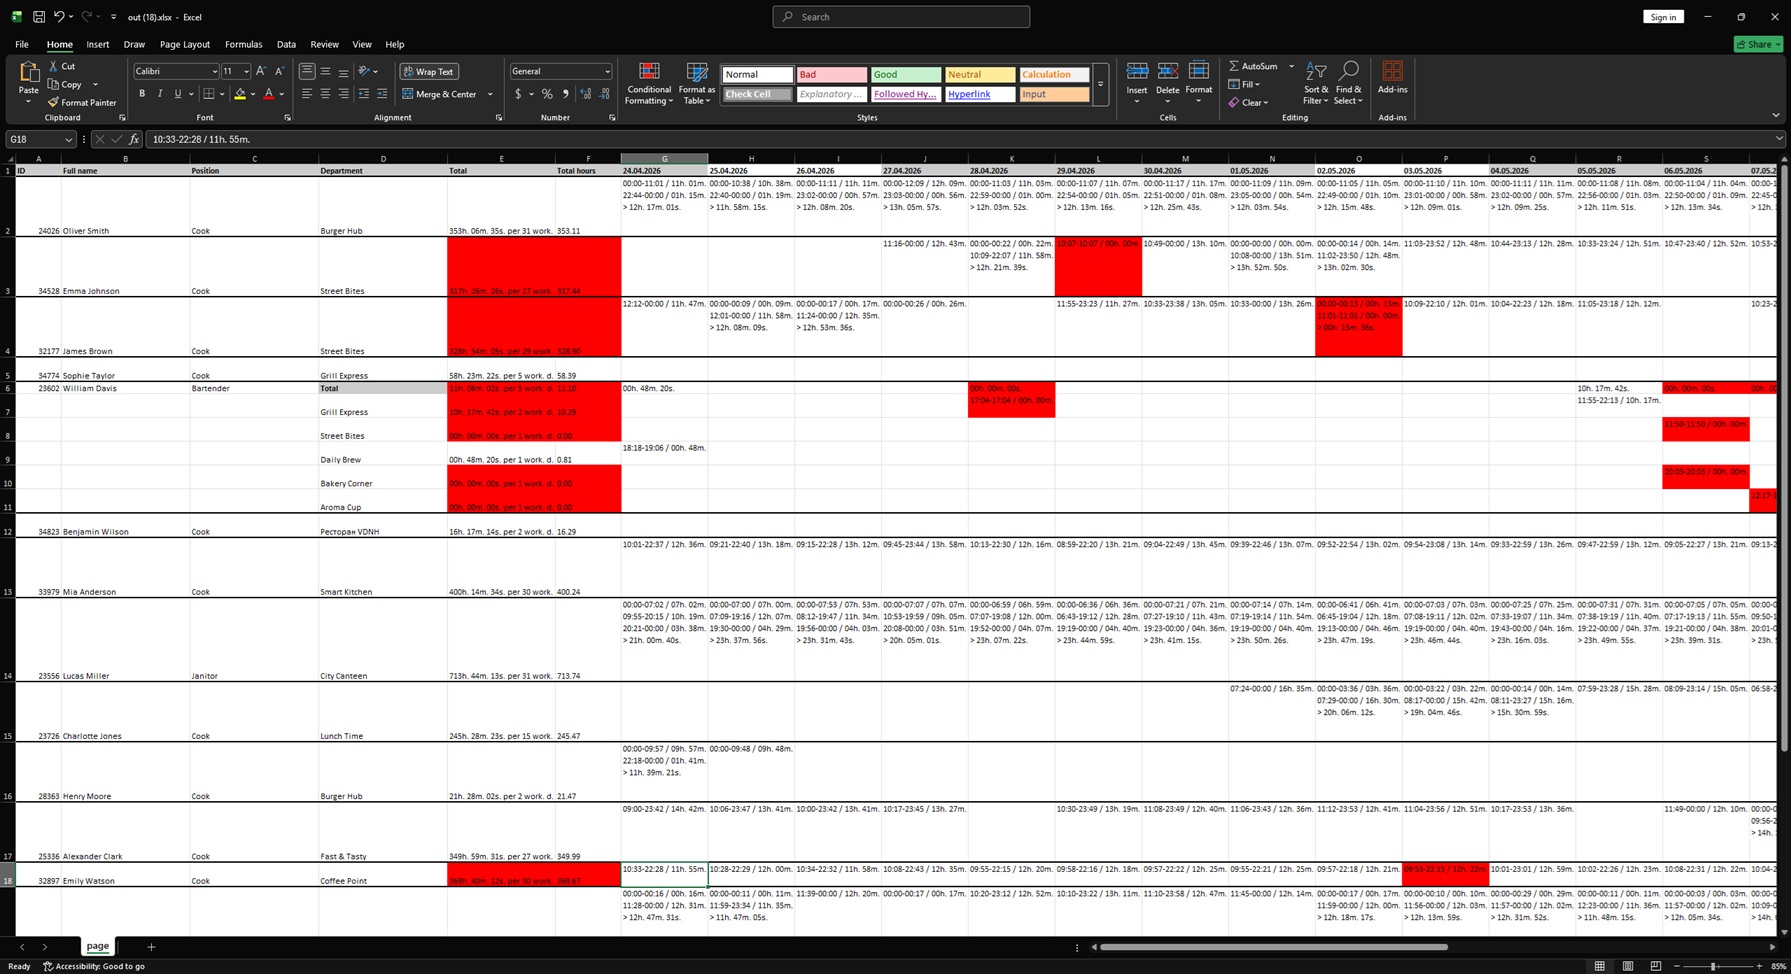
Reports can be exported to Excel, and there is also the option to integrate your own software with Toxtab via REST API.
2. Getting Started
2.1. Equipment
To set up time tracking you will need a device (computer, laptop, tablet, or phone) with the latest version of Google Chrome, a camera, and internet access.
Almost any modern webcam will work. The verification passes successfully if you can easily recognize a person by their face.
Toxtab is an online system and only works with an active internet connection.
Setting up the system and equipment requires no special knowledge. During initial setup, companies can contact Toxtab support for assistance.
2.2. Registration
No contract is required to access the system — a Public Offer Agreement is used instead.
To start using the system, simply complete registration on the website — you will immediately get full unrestricted access.
Toxtab uses a post-payment billing model: you use the system for one month and then pay for the previous month if you wish to continue.
The combination of the Public Offer Agreement and post-payment billing lets you try the system for one month with no obligations.
2.3. First Check-In
Every new company starts its experience with the system by completing the first check-in.
The goal of the first check-in is to populate the system with the minimum data needed for one employee to check in — once you do that, you will understand the principle and can add the remaining data.
After registering, add your company. At this stage, don't worry about the detailed settings — they can be changed later.
You will then land on your new company's page (see your companies list), where prompts will guide you through creating the first check-in.
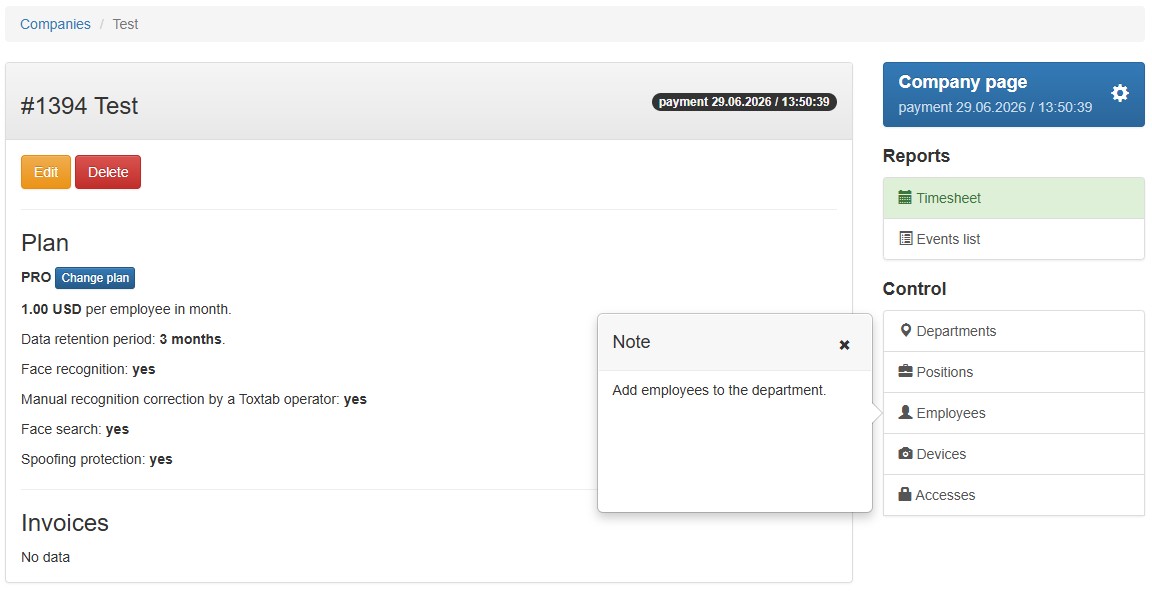
On the company page, the main sections are on the right: "Departments", "Positions", "Employees", and "Applications". To complete the first check-in, you need to add a record in each section.
Add one department — the physical location where employees work: office, warehouse, store, etc.
In the "Positions" section you don't need to change anything — the system already includes a default "Employee" position.
Add an employee, assign them a position and department from the dropdown list. The employee's first photo will become their reference photo.
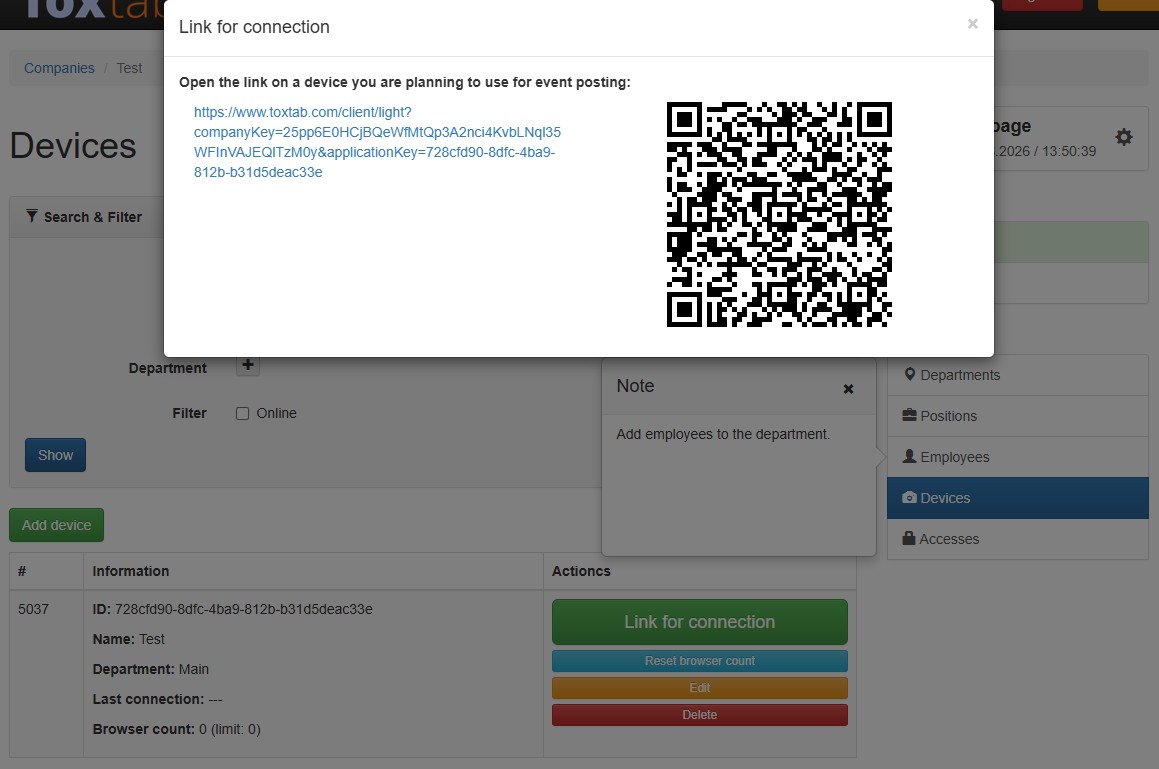
Create an application and assign it to your single department. Then copy the check-in link and use the "Lite" Web Client. Open this link on the device where check-ins will be performed — it gives access to the check-in page.
You can now perform a check-in. On the check-in page, tap "I'm here", wait 20 seconds, then end the work period by tapping "I'm leaving".
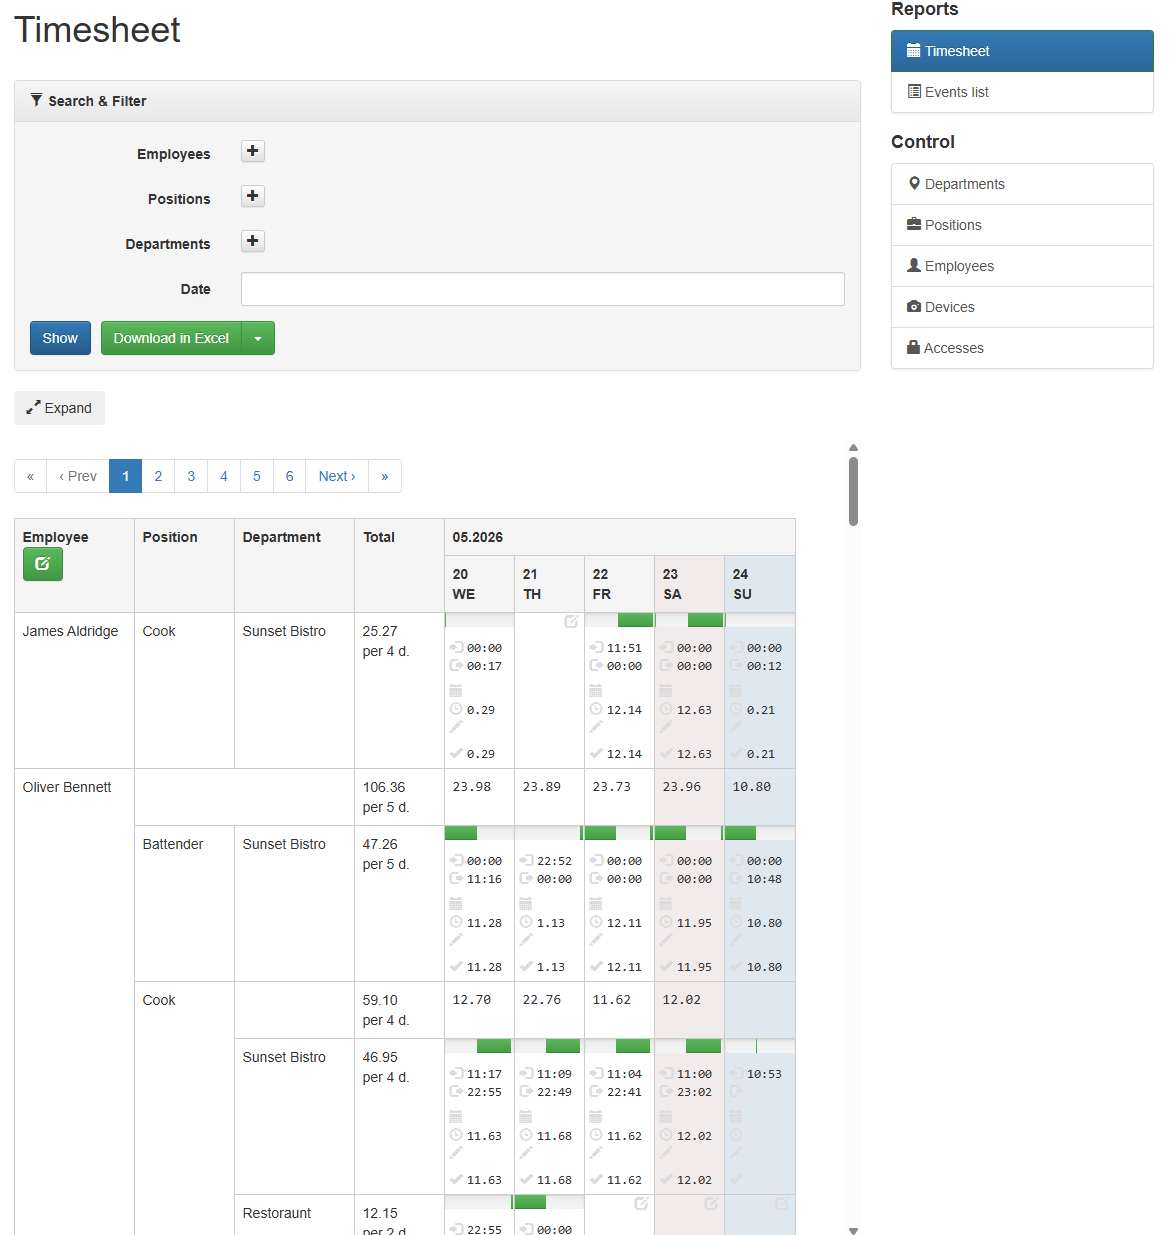
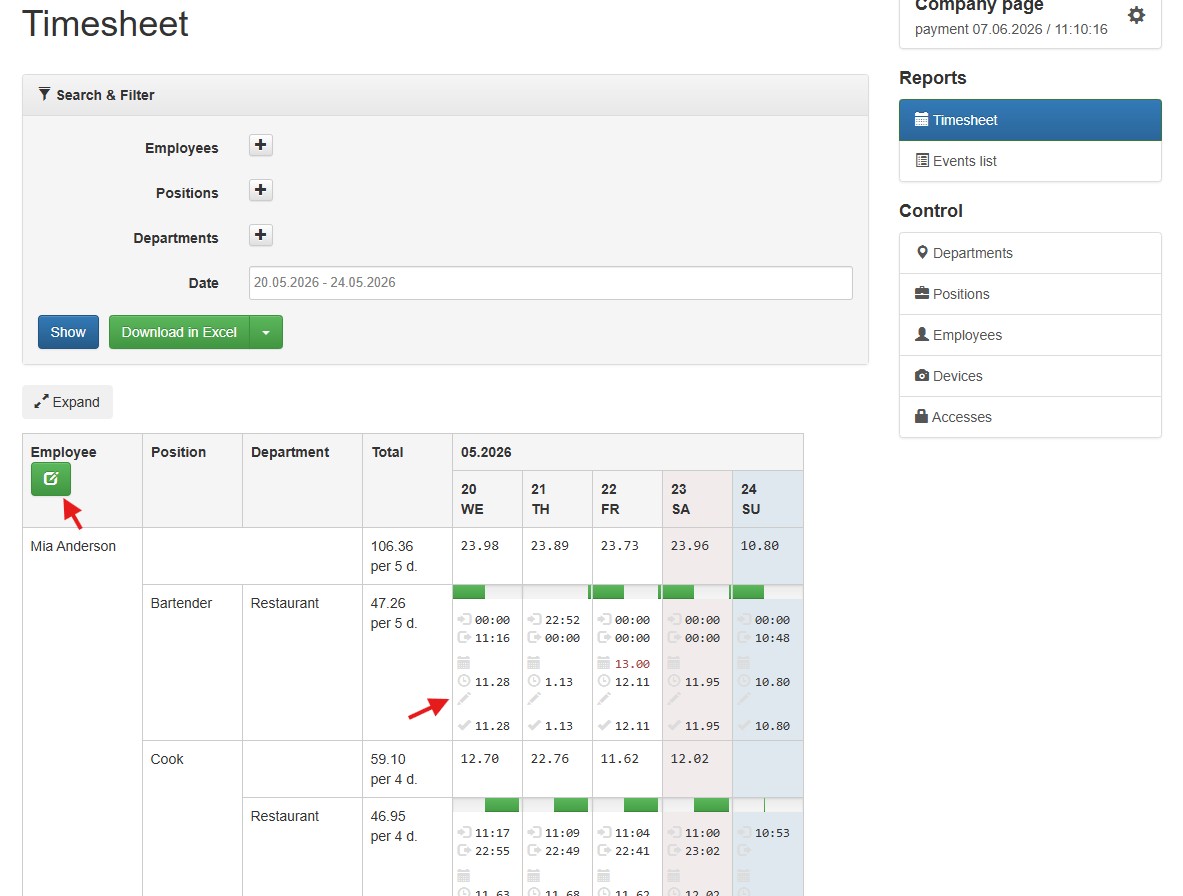
You can view the logged time in the "Timesheet" section on the company page. Clicking on a clock-in/clock-out time opens the "Periods for the day" window. Click on a specific period to see detailed information with photos.
3. System Features
3.1. Key Concepts
Account — after registration, a user gets an account, i.e. a personal dashboard.
Balance — funds on the account. The balance is tied to the account, not to a company — keep this in mind when making payments. Services are paid from the balance, which is topped up via incoming bank transfers or payment systems.
Company — a record in the system that groups departments, positions, employees, applications, and access rights. One account can have access to multiple companies, and one company can be accessed by multiple accounts. If your branches are highly isolated from each other with non-overlapping employee lists, you can create separate companies for each branch or region. Note that usage fees are charged at the company level.
Employee — the employee's data and their reference photo. The photo may be automatically updated by the system to a more optimal one. A single shared employee list is used within a company.
Department — a physical location where employees work: office, warehouse, store, etc. An employee can be assigned to multiple departments, or to none — in that case the department is assigned at the moment of check-in. How exactly this works depends on the application in use (see below).
Position — defines the role in which an employee starts their shift. Each employee must have at least one position assigned. If an employee has multiple positions, they will be prompted to select the position for each new shift they open.
Device — access credentials for the device from which employees perform check-ins. A separate record must be created for each device (computer, laptop, tablet, phone, etc.). When creating a device, select the department it belongs to. Multiple devices can point to the same department. Using the "Check-in link" button you can get the check-in/out link. It' a regular web pages in a browser — so it requires no installation, only the latest version of Google Chrome. You can check your browser version at: https://www.browserscan.net/browser-checker or https://www.whatismybrowser.com/
3.2. Recognition
Toxtab does not use biometrics — verification is performed by a human operator, which complies with applicable biometrics legislation.
Verification is based on the employee's reference photo. The optimal photo is one where the employee stands approximately an arm's length from the camera. The reference photo may be updated automatically over time.
For successful verification, photos must meet the following requirements:
| # | Requirement | Description |
|---|---|---|
| 1 | The face must be clearly visible. | Blurry or poorly lit images are not accepted. |
| 2 | The face must be fully in frame. | Images where only part of the face is visible are not accepted. |
| 3 | The face must be uncovered. | Hair must not cover the face. Images with masks or sunglasses are not accepted. |
| 4 | Natural facial expression. | Intentional facial distortions are not allowed. |
| 5 | Looking directly at the camera. | Profile shots are not accepted. |
| 6 | Vertical orientation. | The face must be vertically aligned relative to the bottom edge of the photo on screen. |
| 7 | One face in frame. | The face of the employee performing the check-in must be in the foreground. |
If an employee attempts to submit a fraudulent check-in, the system will accept it but flag it in the report as unrecognized after review. This allows the system to detect disciplinary violations, while management decides on the appropriate response.
3.3. Time Tracking
Toxtab does not require a work schedule to be configured in advance — the system tracks actual hours worked, which consist of work periods. When an employee taps "I'm here" a period opens; tapping "I'm leaving" closes it. Any number of work periods can occur in a single day. The daily total is the sum of all period durations.
A period can be opened on one day and closed on another — in that case the worked time is split between the two days accordingly.
If an employee forgets to check in and then taps "I'm leaving", the check-out is not lost — a zero-duration period is created instead. Multiple "I'm here" check-ins within a single period are also allowed and all are recorded.
If an employee forgets to close a period, the system will close it automatically by default:
- at 4:30 AM;
- if more than 15 hours have passed since the last check-in in the period;
- if more than 16 hours have passed since the first check-in in the period.
Default settings can be changed by contacting technical support to set custom rules for a company, department, or position.
When the system automatically closes a period, the time from the last check-in to the moment of closure is zeroed out.
Note that when switching departments, the employee must first close the current period and then open a new one in the new department. If this is not done, the previously open period will be closed with the time since the last check-in zeroed out.
3.4. Timesheet (Editing and Time Planning)
The "Timesheet" section on the company page allows not only viewing a summary report but also making adjustments. Each day has three time values: planned, worked, adjusted, and daily total.

Worked — the actual time the employee logged via check-ins and check-outs.
Adjusted — an overridden time value. If set (for example to 00:00), it overrides the worked duration.
Daily total — the value that appears in the report. If an adjusted value is set, it is used; otherwise the worked value is used.
Planned — the expected work duration the employee is supposed to fulfill on a given day, in a given department and position.
You can edit days that have check-ins by clicking on any time category, and days without check-ins (past or future dates) by clicking the edit icon in the top-left corner of the table or in the corresponding day cell.
3.5. Access and Notifications
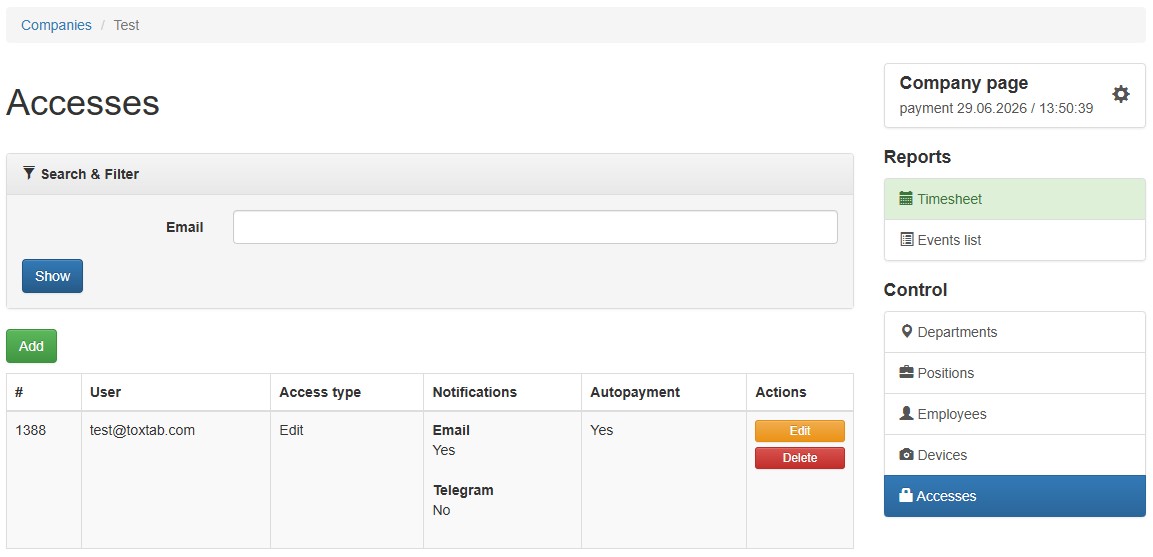
To grant multiple accounts access to one company, each email address used for access must be registered separately. Then, on the company page in the "Access" section, you can add access by account email address. You can also set the access level: edit or read-only.
3.6. Geolocation Binding
Not suitable for areas with an unstable GPS signal.You can define a geographic area for each department within which check-ins are permitted.

This feature works best with the "Lite" Web Client — the department will switch automatically at the moment of check-in if the employee is within a department's geofence. The standard Web Client also supports geolocation-based department switching, but it must be triggered manually via Settings → Switch department by geolocation.
3.7. API
If you need to integrate your own software with Toxtab, you can use the REST API, which supports all the same operations available in the dashboard. API documentation can be requested via technical support.